Email format error
Email cannot be empty
Email already exists
6-20 characters(letters plus numbers only)
The password is inconsistent
Email format error
Email cannot be empty
Email does not exist
6-20 characters(letters plus numbers only)
The password is inconsistent

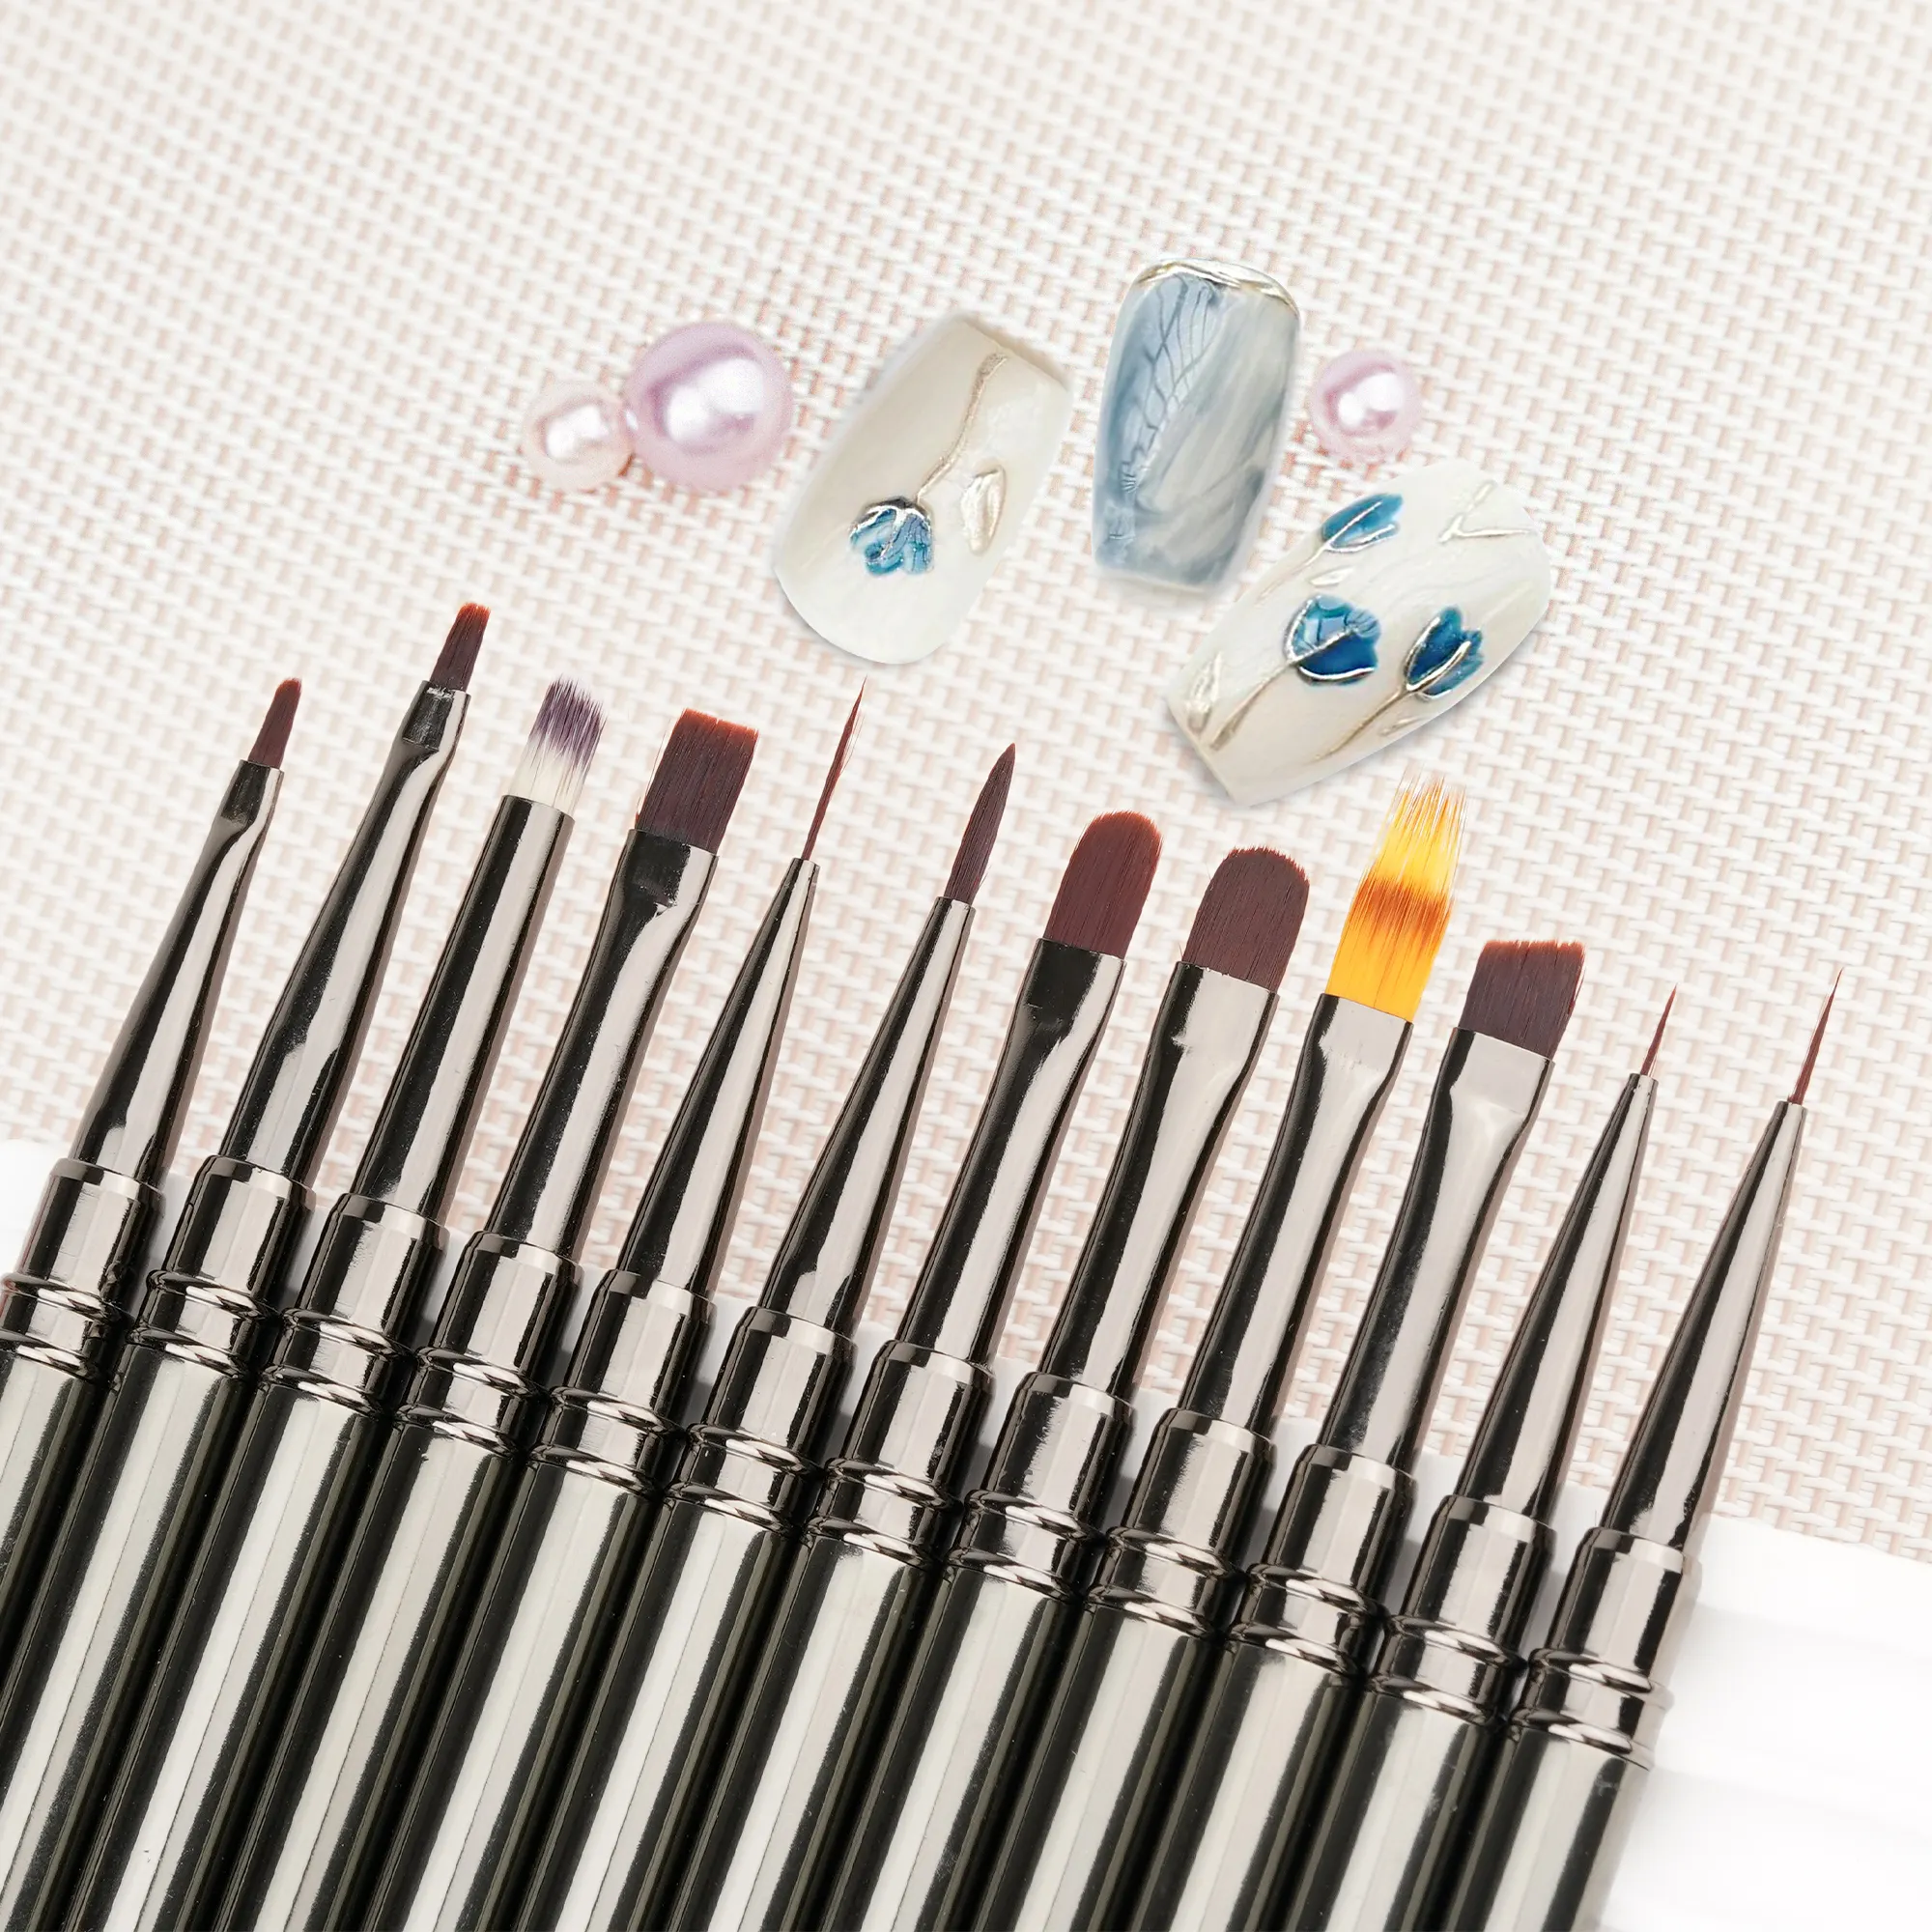
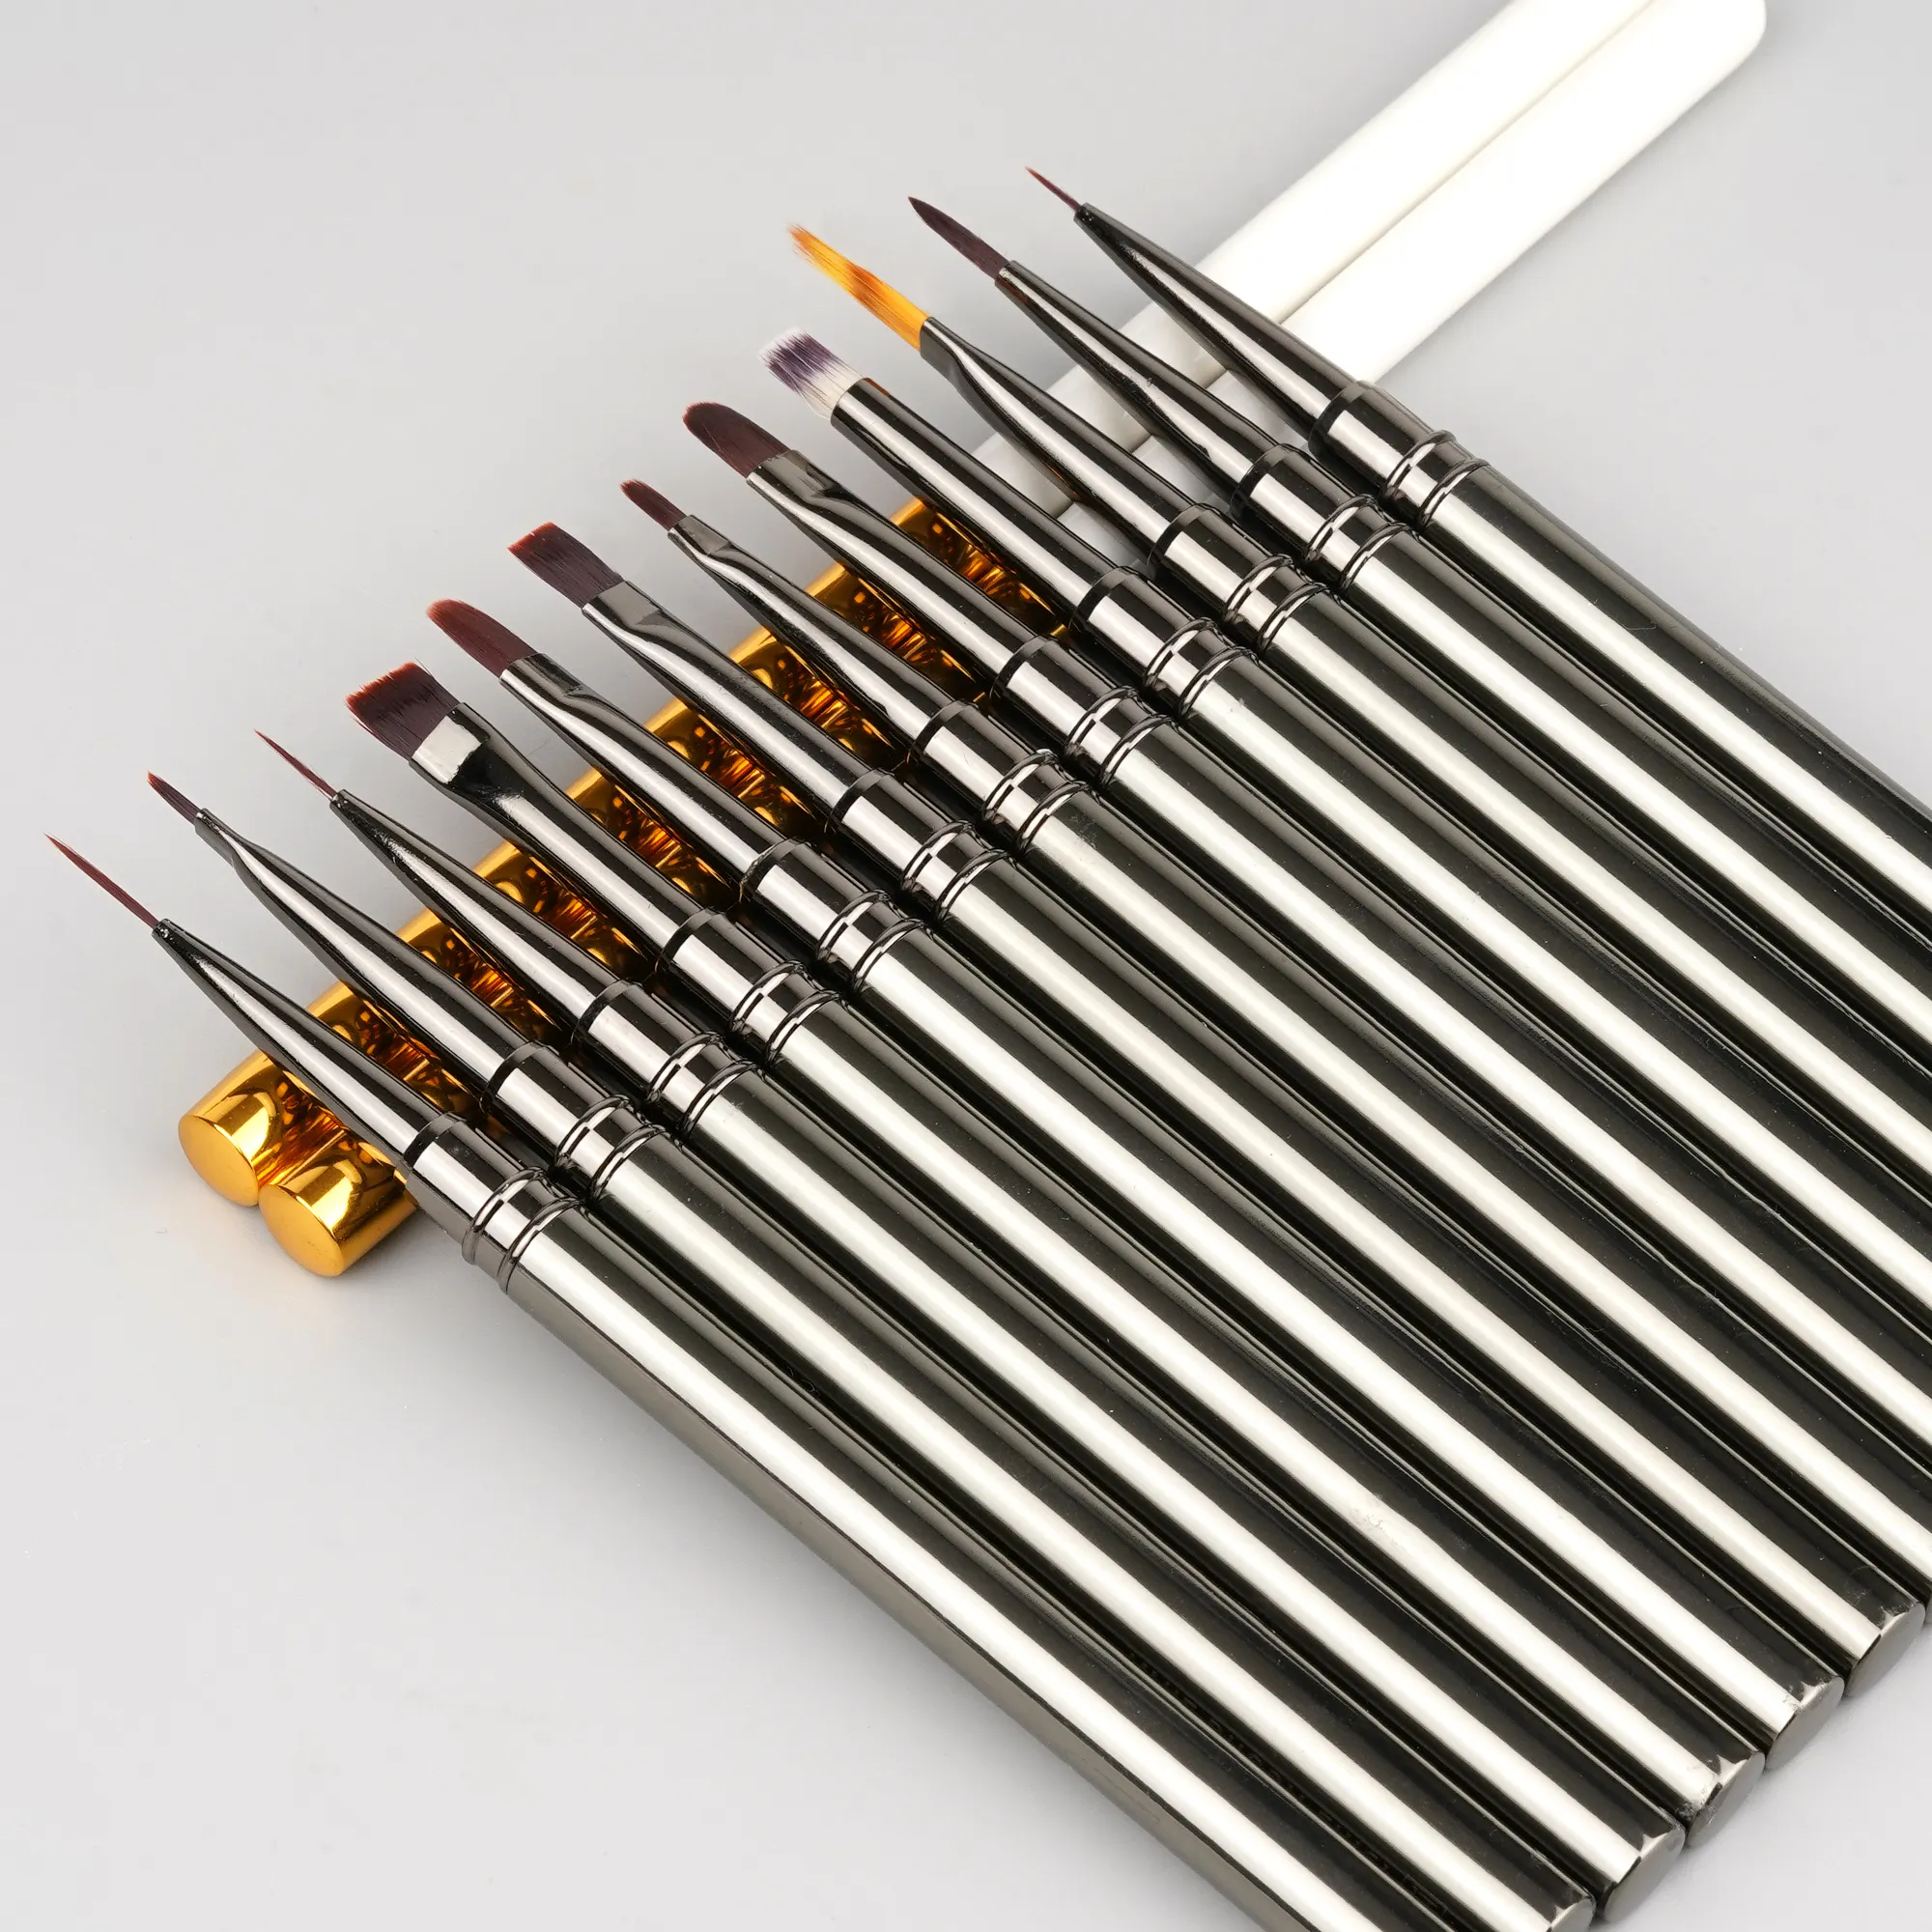
As a nail artist, your brushes are your tools of the trade—your brushes are your paintbrushes, your chisels, your scalpels. The type of brush you use can make or break a design. Knowing what each brush does and how to use it effectively will elevate your work, whether you're doing simple French tips or intricate hand-painted florals.
Over the years, I've found that having the right brush for the job not only speeds up my workflow but also improves the quality of the final product. In this guide, we’ll take a deep dive into the different types of nail art brushes you should have in your toolkit. We’ll talk about the best uses for each, tips on how to use them effectively, and some personal experiences that might help you refine your technique.
Nail art isn’t just about slapping some color on a nail and calling it a day. It's about precision, detail, and creativity. The right brush allows you to achieve sharp lines, smooth gradients, and delicate details that will make your designs stand out. The wrong brush, on the other hand, might leave you frustrated with uneven strokes or smudged colors.
Over time, I learned that investing in the right brushes and understanding their functions was a game-changer for my business. Whether you're creating minimalist art or intricate designs, the right tools will help you deliver consistently great results.

The flat brush is like the versatile, go-to tool in your nail art toolbox. It has a wide, rectangular shape, which makes it perfect for covering large areas quickly and with precision. Whether you're painting a solid base coat or blending colors, this brush is your best friend.
Best for: Filling in large areas, creating gradients, and painting large shapes. Pro Tip: The flat brush is ideal for geometric designs or when you need to cover a lot of surface area quickly. It's also great for creating sharp edges, such as the perfect French tip.
I remember when I first started doing gradient nails. I had a hard time achieving that smooth, blended look until I started using a flat brush for blending the colors. The flat bristles made it so much easier to get that seamless transition between shades.
The round nail art brush is perfect for fine lines and precision. It has a pointed tip, which gives you control over the thickness and length of your strokes. If you're doing detailed work, like small flowers or delicate outlines, this is the brush you’ll reach for.
Best for: Creating fine lines, swirls, and dotting. Pro Tip: The round brush is great for freehand designs, and with a bit of practice, you can use it to write words or draw tiny details like dots and hearts.
When I started doing custom nail art, I quickly learned that the round brush was perfect for detailed work. I did a client’s nails with a floral design once, and the round brush made each petal look crisp and clean, without any jagged edges.
Liner brushes are ultra-thin and long, which makes them ideal for creating thin, precise lines. Whether you’re doing pinstripes or detailed freehand designs, the liner brush gives you the precision you need to nail those delicate strokes.
Best for: Fine lines, pinstripes, and intricate designs like lace or vines. Pro Tip: Practice is key with this brush. It takes a steady hand, but once you get the hang of it, you’ll be able to create super-fine details that make a design pop.
I still remember my first attempt at doing pinstripes. It took a few tries, but the liner brush made all the difference. With a good liner brush, I was able to create clean, consistent lines that I would have struggled with using any other brush.
This brush has bristles that spread out in a fan shape, which is perfect for creating texture effects. It's also great for spreading glitter, creating gradient effects, or mimicking natural textures like marble.
Best for: Texture effects, gradient designs, and applying glitter. Pro Tip: The fan brush is your secret weapon for achieving soft effects. It’s perfect for creating a smoky or marble look.
A few months ago, I used the fan brush for a client who wanted a soft, smoky nail effect. I gently brushed it across the nails, blending two colors together for a marbled effect. The fan brush made it so much easier to achieve that faded, natural look.
An angular brush has a slanted tip, which allows for precise application along curves and corners. It’s perfect for creating sharp lines, geometric designs, and even curvy patterns.
Best for: Curved lines, angled strokes, and geometric designs. Pro Tip: The angular brush is especially useful for designs that follow the natural curve of the nail.
I’ve used the angular brush many times for geometric nail art. It’s especially useful for straight lines, like the angled edges of a triangle or square. The slanted tip helps to maintain that sharp, clean look.
Although it’s technically not a brush, a dotting tool is essential for any nail artist. It comes with rounded ends of different sizes, allowing you to create perfect dots for your designs.
Best for: Polka dots, flowers, and creating small decorative elements. Pro Tip: Dotting tools come in different sizes, so you can mix and match for a variety of designs.
I once did a polka-dot design for a wedding party, and the dotting tool made it so easy to get those perfectly uniform dots. The trick is to dip it into polish carefully and make sure your dots are evenly spaced.
This is a super-fine brush, ideal for the most intricate designs. If you’re doing anything with tiny details, like lace, embroidery, or miniature artwork, the detailer brush is your best option.
Best for: Tiny details, intricate designs, and artwork. Pro Tip: Use the detailer brush to add those finishing touches, like tiny accents or flourishes, that really make a design stand out.
When I did a set of wedding nails with tiny flowers, the detailer brush was essential. It allowed me to paint the petals so precisely that each flower looked like it had been hand-crafted.
This is essentially the mini version of the detailer brush, designed for even finer details. It’s perfect for adding minuscule details to your designs or painting tiny objects, like eyes or stars.
Best for: Ultra-fine detailing, tiny accents. Pro Tip: The spotter brush is great for when you need to paint on small, delicate motifs, like a little ladybug or the tiny eyes of an animal design.
I always reach for my spotter brush when a client requests tiny animal designs. Once, I painted a tiny cat’s face on a nail for a client’s birthday, and the spotter brush helped me get those delicate whiskers just right.
When using stamping plates to create designs, a stamping brush helps to apply the polish to the plate and then scrape off the excess. This tool ensures that the design transfers evenly onto the nail.
Best for: Nail stamping, even polish application. Pro Tip: Use a stiff-bristled stamping brush to get a clean, smooth transfer of the image from the plate to the nail.
Stamping was a total game-changer for me. The first time I used a stamping brush, I was amazed by how much quicker it made the process. The key is to apply just the right amount of pressure when scraping off the excess polish.
Now that we’ve covered the types of brushes, let’s talk about how to choose the right ones for your nail art style. If you’re a beginner, it’s best to start with a few basic brushes like a round brush, flat brush, and liner brush. As you grow more comfortable, you can expand your toolkit with detailer brushes, spotter brushes, and fan brushes for specialized designs.
For more advanced techniques, you’ll need brushes that give you finer control and more precision. Over time, I’ve found that having a variety of brushes on hand is essential, especially when working with different designs or client requests.
Taking care of your brushes is crucial for keeping them in top shape. Always clean your brushes after every use, especially after working with gel or acrylic products. Gently wash the bristles with soap and warm water, and never let them soak for too long.
When storing your brushes, make sure to keep them in a protective case or brush holder to maintain their shape. I personally store mine in a vertical container so the bristles don’t get squashed.