Gel polish has become a staple in the world of manicures, offering long-lasting, chip-resistant color that can keep your nails looking flawless for weeks. However, when it’s time to remove gel polish, the process can be tricky—especially if you’re using a nail drill machine. While nail drills are incredibly effective, improper use can lead to damage, thinning, or even injury to your nails. That’s why it’s essential to know how to safely remove gel polish with a nail drill machine.
In this guide, we’ll walk you through the process step by step, ensuring your nails stay healthy and strong. Whether you’re a professional nail technician or a DIY enthusiast, these tips will help you achieve a safe and efficient gel polish removal.
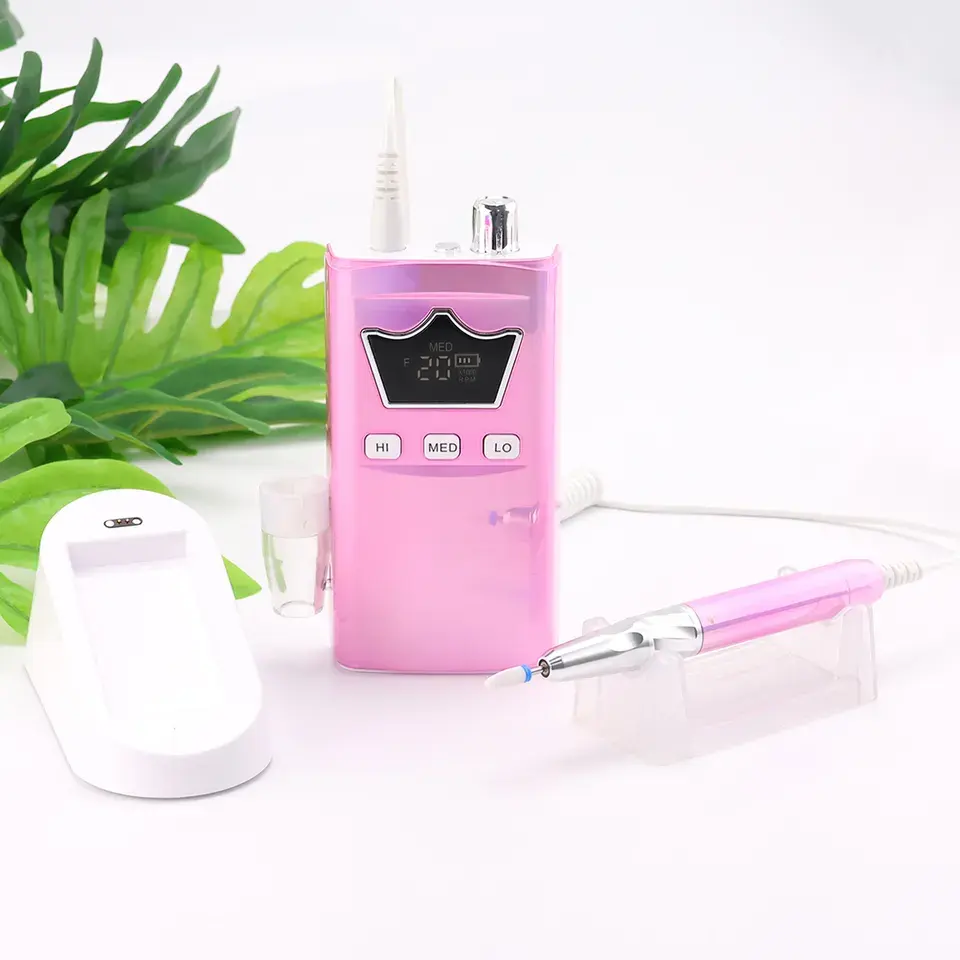
Why Use a Nail Drill Machine for Gel Polish Removal?
Before diving into the steps, let’s address why a nail drill machine is a popular choice for removing gel polish. Unlike traditional methods like soaking in acetone, a nail drill can save time and effort. It’s particularly useful for removing stubborn gel polish or hard gels that don’t easily lift with soaking. However, the key is to use the drill correctly to avoid damaging the natural nail underneath.

Step 1: Gather Your Tools and Supplies
Preparation is crucial for a safe and effective gel polish removal process. Here’s what you’ll need:
-
Nail drill machine: Choose a drill with adjustable speed settings. Lower speeds are safer for beginners.
-
Carbide or ceramic bits: Opt for a fine-grit bit (180 grit or higher) to gently remove the gel polish without damaging the nail.
-
Cuticle oil: To hydrate and nourish your nails after the process.
-
Nail buffer: For smoothing the nail surface post-removal.
-
Safety mask and goggles: To protect yourself from dust particles.
-
Nail cleanser or rubbing alcohol: For cleaning the nails before and after the process.
Step 2: Prep Your Nails
Start by cleaning your nails with a nail cleanser or rubbing alcohol to remove any oils or residue. This ensures the drill can work efficiently without slipping. If your nails are particularly long, consider trimming them slightly to make the process easier.
Step 3: Adjust the Nail Drill Settings
Set your nail drill to a low speed (around 10,000 RPM). High speeds can generate excessive heat and friction, which may damage your nails. If you’re new to using a nail drill, start with the lowest setting and gradually increase the speed as you gain confidence.
Step 4: Begin Removing the Gel Polish
Hold the nail drill like a pencil for better control. Gently glide the bit over the surface of the gel polish, working in small sections. Avoid pressing too hard—let the drill do the work. Focus on removing the top layer of the gel polish first, as this will make it easier to tackle the remaining layers.
Pro Tip: Keep the drill moving in a steady motion to prevent heat buildup, which can cause discomfort or damage to the nail bed.
Step 5: Remove Remaining Layers Carefully
Once the top layer is removed, switch to a finer-grit bit to carefully remove the remaining gel polish. Be extra cautious around the edges and cuticles to avoid nicking the skin or thinning the natural nail. If you encounter any stubborn spots, resist the urge to press harder—instead, take your time and work slowly.
Step 6: Buff and Smooth the Nails
After all the gel polish is removed, use a nail buffer to smooth out any rough spots on the nail surface. This step helps create an even base if you plan to apply a new coat of gel polish or nail treatment.
Step 7: Hydrate and Nourish Your Nails
Gel polish removal can be drying, so it’s essential to replenish moisture. Apply cuticle oil generously and massage it into your nails and surrounding skin. This step not only hydrates but also promotes healthy nail growth.
Common Mistakes to Avoid
-
Using the Wrong Bit: Coarse-grit bits can be too harsh for gel polish removal. Always opt for a fine-grit bit to protect your natural nails.
-
Rushing the Process: Taking your time ensures you don’t accidentally damage your nails.
-
Skipping Hydration: Neglecting to moisturize after gel polish removal can lead to dry, brittle nails.
FAQs About Gel Polish Removal with a Nail Drill Machine
Q: Can I use a nail drill machine at home?
A: Yes, but it’s important to practice proper technique and start with low speeds. If you’re unsure, consider consulting a professional.
Q: How often can I remove gel polish with a nail drill?
A: It’s best to limit gel polish removal to every 2-3 weeks to prevent over-thinning of the nails.
Q: What should I do if I feel pain during the process?
A: Stop immediately. Pain is a sign that you’re applying too much pressure or using too high a speed.
Why Safety Matters
Your nails are a reflection of your overall health, and damaging them can lead to long-term issues like thinning, peeling, or infections. By following the steps above, you can enjoy the convenience of a nail drill machine without compromising the health of your nails.
Final Thoughts
Removing gel polish with a nail drill machine doesn’t have to be intimidating. With the right tools, techniques, and a little patience, you can achieve salon-quality results at home. Remember, the key to success is prioritizing safety and taking your time. Your nails will thank you!
By following this guide, you’ll not only master the art of gel polish removal but also maintain strong, healthy nails for years to come.