A broken nail can be a frustrating setback, especially if you’ve been working hard to grow and maintain your nails. Whether it’s a clean break or a jagged tear, the good news is that you don’t always need to rush to a salon for a fix. With the right tools and techniques, you can repair a broken nail at home using something as simple as a nail file.
In this guide, we’ll walk you through the process of fixing a broken nail with a nail file, ensuring your nails look polished and healthy. Whether you’re a nail care novice or a seasoned pro, these tips will help you handle nail emergencies like a champ.
Why Use a Nail File to Fix a Broken Nail?
Nail files are one of the most versatile tools in your nail care kit. They’re not just for shaping—they can also be used to smooth out rough edges, shorten nails, and even repair breaks. Using a nail file to fix a broken nail is a quick, cost-effective solution that can save you from having to cut all your nails short or book an emergency salon appointment.
Step 1: Assess the Damage
Before you start filing, take a close look at the broken nail. Is it a small chip, a deep crack, or a complete break? The severity of the damage will determine how you approach the repair. For minor chips and cracks, a nail file alone may be enough. For more severe breaks, you might need additional tools like nail glue or a tea bag patch (we’ll cover this in a later section).
Step 2: Gather Your Tools
Here’s what you’ll need to fix a broken nail with a nail file:
-
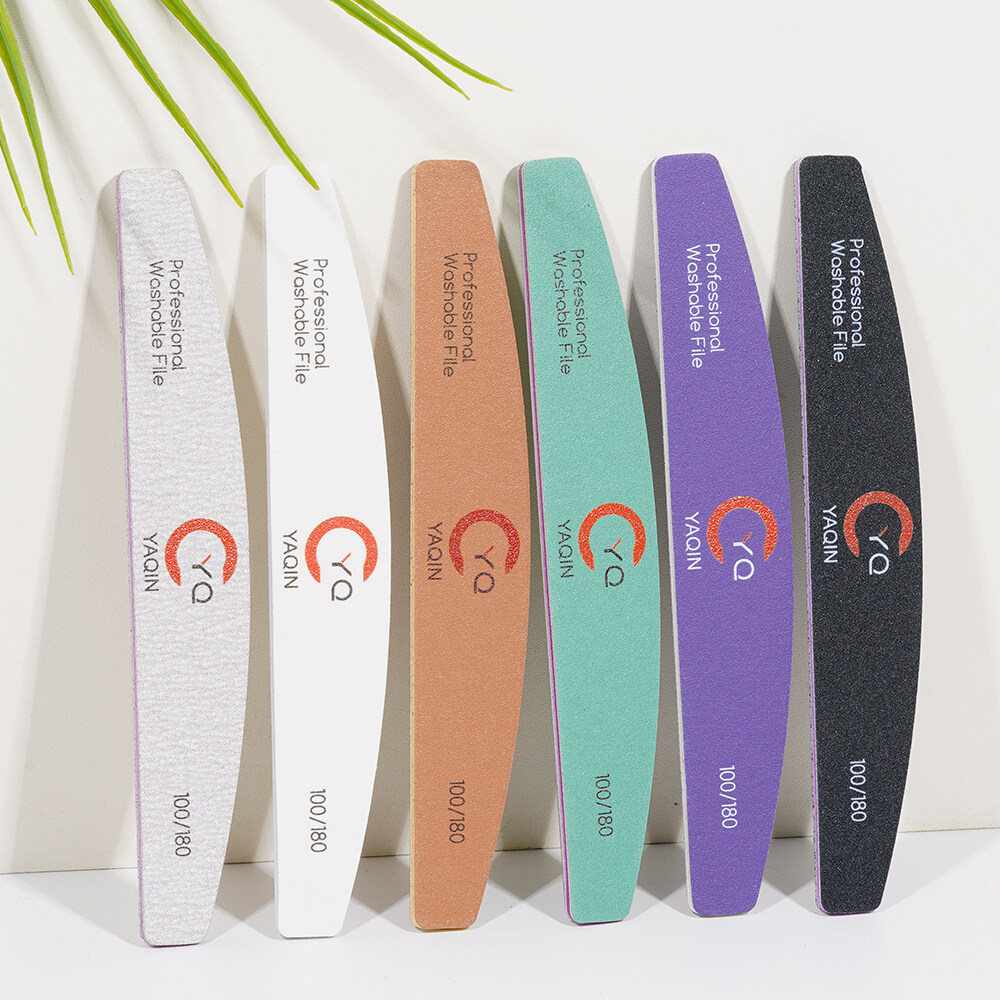
Nail file: Opt for a fine-grit file (180 grit or higher) to avoid further damaging the nail.
-
Nail buffer: To smooth the nail surface after filing.
-
Cuticle oil: To hydrate and nourish the nail after the repair.
-
Nail cleanser or rubbing alcohol: To clean the nail before starting.
-
Tweezers (optional): For removing any loose pieces of the broken nail.
Step 3: Clean the Nail
Start by cleaning the broken nail with a nail cleanser or rubbing alcohol. This removes any dirt, oils, or residue that could interfere with the repair process. If there are any loose pieces of the nail, gently remove them with tweezers to prevent further tearing.
Step 4: File the Broken Edge
Using your nail file, gently smooth out the broken edge of the nail. File in one direction only—avoid sawing back and forth, as this can weaken the nail and cause further damage. The goal is to create a smooth, even edge that blends with the rest of the nail.
Pro Tip: If the break is near the tip of the nail, you may need to file down the length slightly to remove the damaged portion. This ensures the nail is strong enough to withstand daily wear and tear.
Step 5: Shape the Nail
Once the broken edge is smooth, use the nail file to shape the nail. Whether you prefer a square, round, or almond shape, make sure all your nails are uniform for a polished look. Filing the other nails to match the repaired one will help maintain symmetry.
Step 6: Buff the Nail Surface
After filing, use a nail buffer to smooth the surface of the nail. This step removes any rough spots and creates a seamless finish. Be gentle—over-buffing can thin the nail and make it more prone to future breaks.
Step 7: Hydrate and Nourish
Repairing a broken nail can leave it feeling dry and brittle. Apply cuticle oil generously and massage it into the nail and surrounding skin. This step not only hydrates but also strengthens the nail, reducing the risk of future breaks.
When to Use Additional Repair Methods
While a nail file can fix minor breaks, more severe damage may require additional steps. Here are two popular methods for repairing deeper breaks:
-
Nail Glue: Apply a small amount of nail glue to the crack or break, then press the nail together until the glue dries. Once the glue is set, file the nail to smooth out any unevenness.
-
Tea Bag Patch: Cut a small piece of a tea bag to fit over the break, then apply a layer of nail glue or clear polish to secure it. Once dry, file and buff the nail for a seamless finish.
Common Mistakes to Avoid
-
Using a Coarse-Grit File: Coarse files can be too harsh and may cause further damage. Always use a fine-grit file for repairs.
-
Over-Filing: Filing too much can weaken the nail. Be gentle and take your time.
-
Skipping Hydration: Neglecting to moisturize after a repair can leave your nails dry and prone to future breaks.
FAQs About Fixing a Broken Nail with a Nail File
Q: Can I fix a completely broken nail with just a nail file?
A: For a clean break, a nail file can help smooth the edge, but you may need nail glue or a tea bag patch for a more secure repair.
Q: How often should I replace my nail file?
A: Replace your nail file every 3-6 months, or sooner if it becomes worn or less effective.
Q: Can I use an emery board instead of a nail file?
A: Yes, emery boards work well for minor repairs, but they may wear out faster than glass or metal files.
Why Nail Health Matters
Your nails are more than just a fashion statement—they’re a reflection of your overall health. Damaged or broken nails can be a sign of nutritional deficiencies, dehydration, or excessive exposure to harsh chemicals. By taking the time to repair and care for your nails properly, you’re not only enhancing their appearance but also promoting long-term nail health.
Final Thoughts
Fixing a broken nail with a nail file is a simple yet effective way to salvage your manicure and keep your nails looking their best. With the right tools and techniques, you can handle nail emergencies with confidence and ease. Remember, the key to success is patience and proper care.
By following this guide, you’ll be well-equipped to tackle any nail mishaps that come your way. So the next time you experience a break, don’t panic—grab your nail file and get to work!