Email format error
Email cannot be empty
Email already exists
6-20 characters(letters plus numbers only)
The password is inconsistent
Email format error
Email cannot be empty
Email does not exist
6-20 characters(letters plus numbers only)
The password is inconsistent

When it comes to nail care, achieving a flawless finish is essential for both professionals and enthusiasts alike. One of the key tools in the nail technician’s arsenal is the sanding band, particularly when it comes to working with natural nails. This guide will delve into what sanding bands are, their benefits, how to use them effectively, and the different types available on the market.
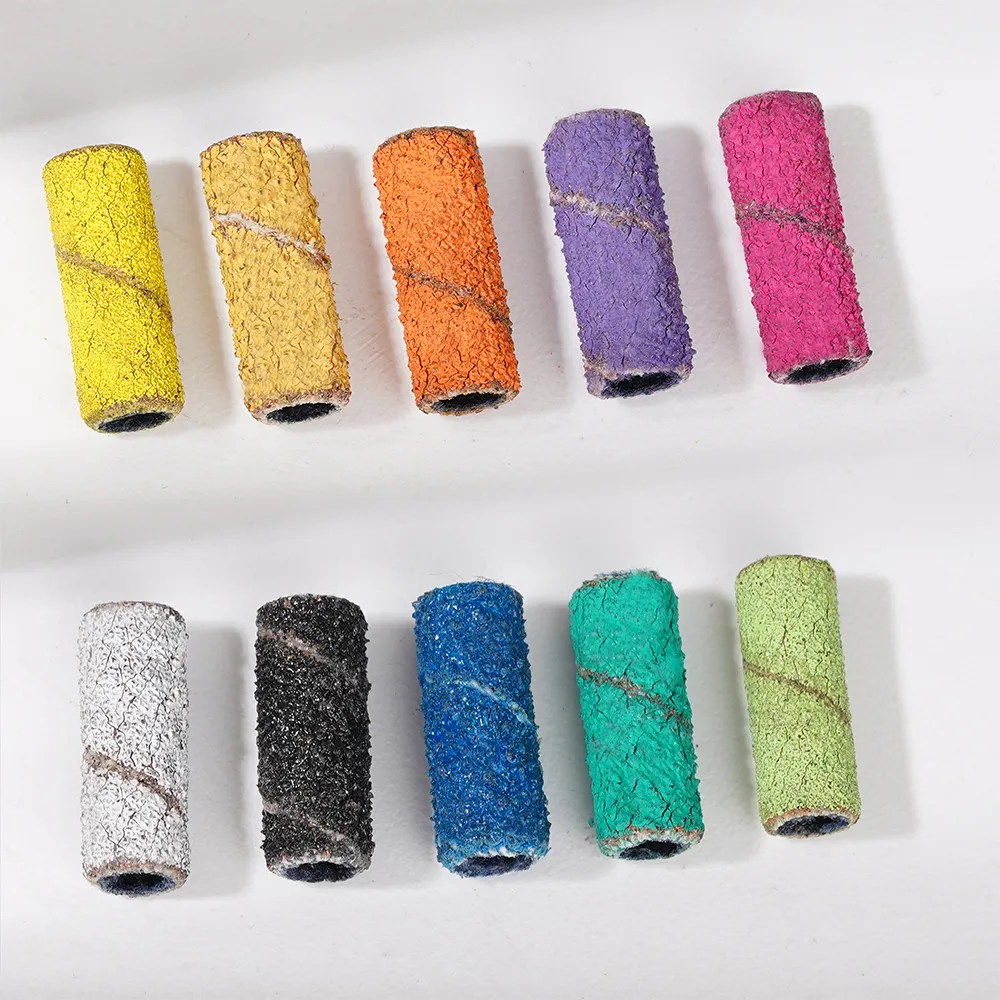
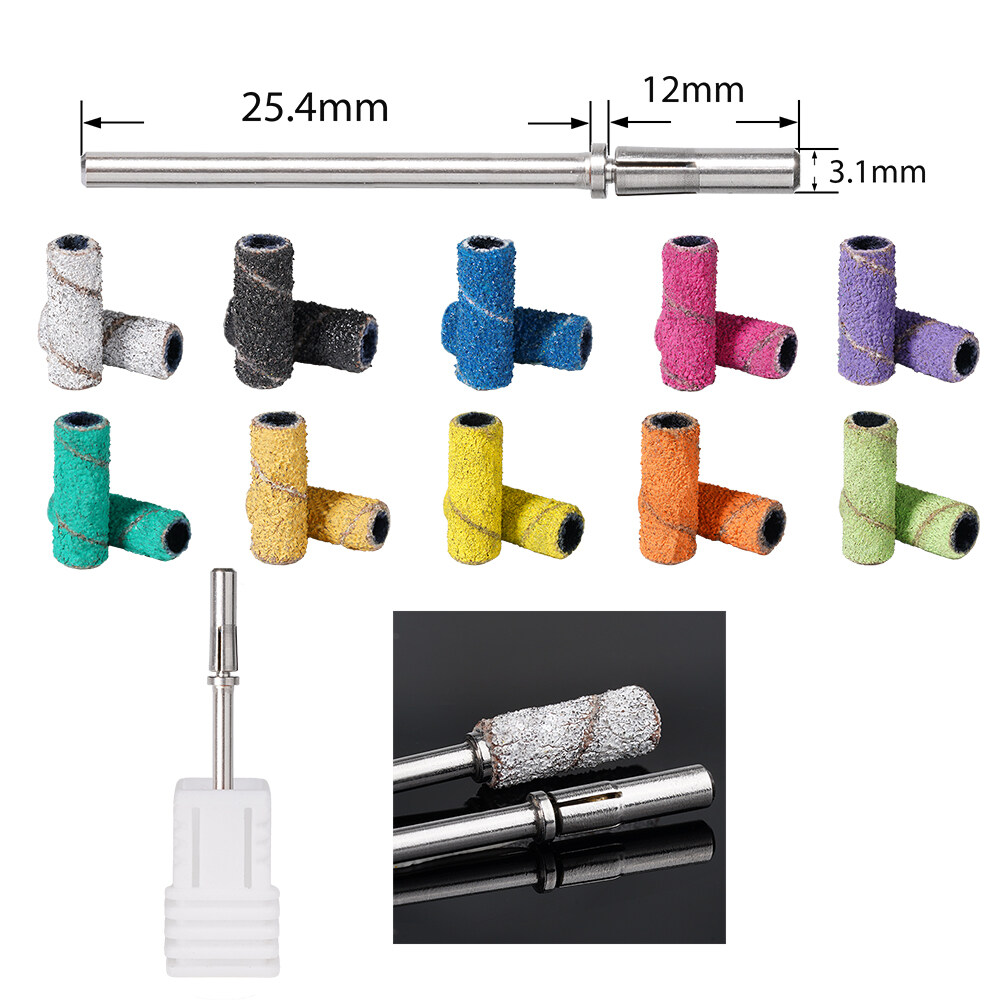
Sanding bands are cylindrical sanding tools designed to fit onto a nail drill. They are typically used for smoothing, shaping, and prepping natural nails and enhancements before applying polish or gel. Made from various materials, these bands come in different grits, which determine their abrasiveness and suitability for specific tasks.

Efficiency: Sanding bands significantly speed up the nail preparation process compared to manual filing. They can quickly remove excess product and shape the nail bed, making them a favorite among nail technicians.
Versatility: These bands can be used for various applications, including buffing natural nails, preparing the nail surface for enhancements, and finishing off manicures. Their versatility makes them an essential tool in any nail care routine.
Consistency: Unlike manual filing, which can lead to uneven surfaces, sanding bands provide a uniform finish. This consistency is crucial for achieving professional-looking results.
Less Dust: Many modern sanding bands are designed to minimize dust production, creating a cleaner workspace. This is particularly beneficial in salons, where air quality is a priority.
Comfort: The ergonomic design of sanding bands allows for easy maneuverability, making them comfortable for technicians to use over extended periods.
When selecting sanding bands for natural nails, consider the following factors:
Grit Size: Sanding bands come in various grit sizes, typically ranging from coarse (80-120 grit) to fine (180-240 grit). Coarse grits are suitable for initial shaping and product removal, while finer grits are ideal for smoothing and finishing. For natural nails, it’s essential to use finer grits to avoid damaging the nail bed.
Material: The material used in sanding bands can vary, including aluminum oxide and silicon carbide. Aluminum oxide is the most common and is effective for both natural and artificial nails. Silicon carbide is often used for a finer finish and is gentler on natural nails.
Size Compatibility: Ensure that the sanding bands you choose are compatible with your nail drill. Most sanding bands come in standard sizes, but it’s important to verify compatibility to ensure proper fitting.
Quality: Investing in high-quality sanding bands will yield better results and enhance the longevity of the product. Look for reputable brands that offer durable and effective sanding bands.
Using sanding bands correctly is crucial for achieving optimal results and maintaining the health of natural nails. Follow these steps for effective use:
Prep the Nail: Start with clean, dry nails. Remove any polish or existing enhancements before beginning.
Select the Appropriate Grit: Choose the right grit size based on the task at hand. For shaping or removing bulk, start with a coarser grit, then transition to a finer grit for smoothing.
Use Proper Technique: Hold the nail drill at a 90-degree angle to the nail bed. Use gentle pressure and avoid excessive force, as this can cause damage. Move the sanding band in a smooth, controlled manner across the nail surface.
Keep It Cool: Excessive heat can damage both the nail and the surrounding skin. Periodically lift the sanding band away from the nail to allow it to cool.
Finish with Buffing: After shaping, switch to a fine grit sanding band for buffing. This will smooth the nail surface and prepare it for polish or enhancements.
Clean the Area: After use, clean the nail drill and the surrounding area to minimize dust and maintain hygiene.
Using Too Much Pressure: Applying excessive pressure can lead to nail damage and discomfort. Always use a light touch and let the sanding band do the work.
Neglecting Hygiene: Always sanitize your tools and use new sanding bands for each client to prevent cross-contamination.
Skipping Nail Prep: Properly prepping the nail before using sanding bands is crucial for effective results. Ensure the nail is clean and dry to achieve the best finish.
Sanding bands for natural nails are invaluable tools for both nail professionals and home enthusiasts. Their efficiency, versatility, and ability to provide a consistent finish make them essential for achieving beautiful nails. By choosing the right sanding bands, using them effectively, and avoiding common mistakes, you can elevate your nail care routine to a professional level. Whether you’re prepping for a manicure or enhancing the natural beauty of your nails, incorporating high-quality sanding bands into your toolkit will undoubtedly yield impressive results.