Email format error
Email cannot be empty
Email already exists
6-20 characters(letters plus numbers only)
The password is inconsistent
Email format error
Email cannot be empty
Email does not exist
6-20 characters(letters plus numbers only)
The password is inconsistent

Hello there! If you're looking to give your nails a professional touch at home, a nail lamp might just be the tool you need. I remember the first time I used one; I was so nervous I almost burned my fingers! But don't worry, I'll walk you through it step by step, and you'll be a pro in no time.
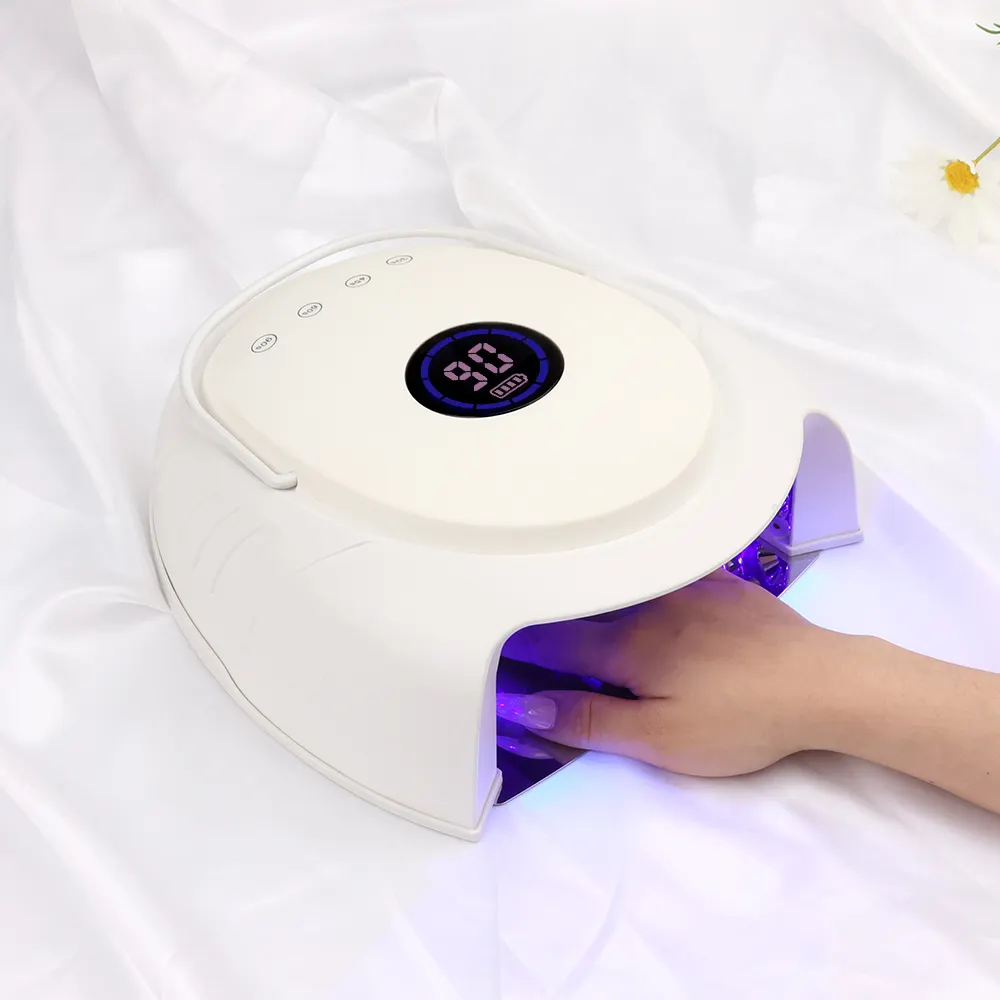
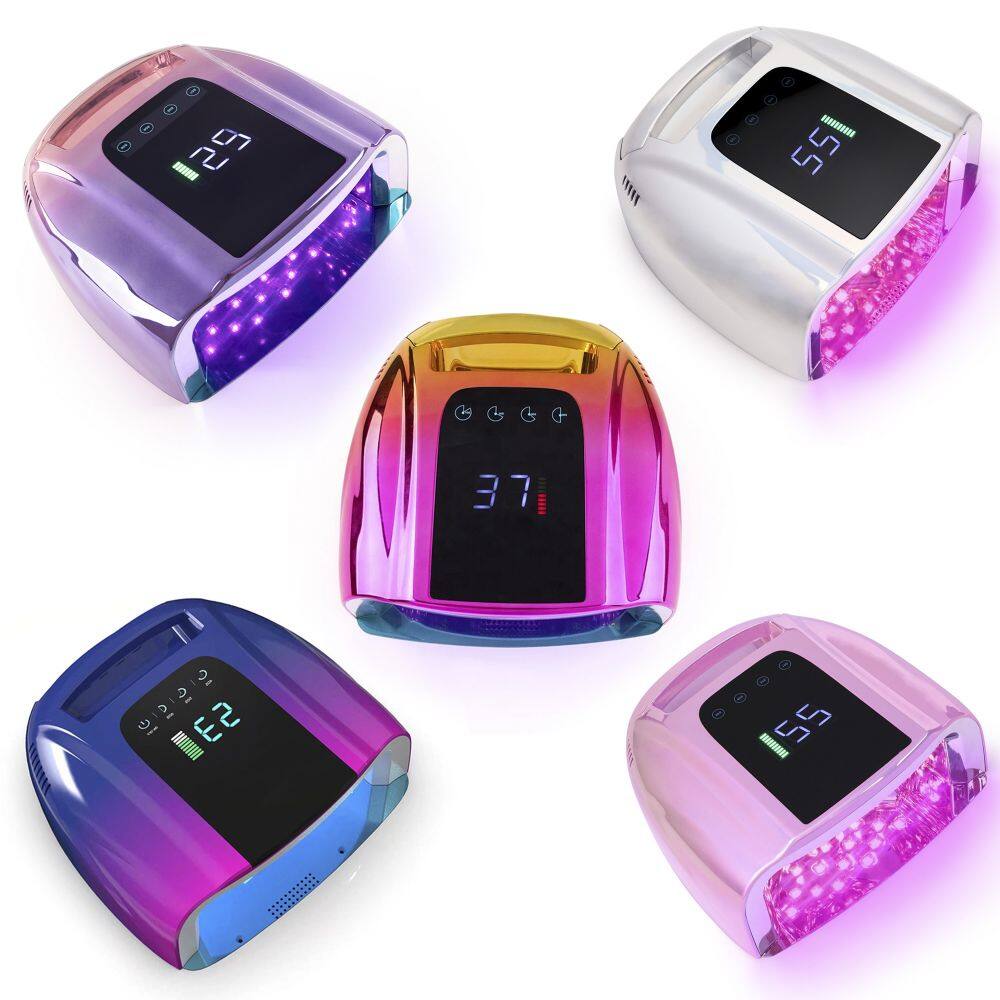
Before we dive in, let's talk about what a nail lamp is. A nail lamp, also known as an LED or UV lamp, is a device that cures gel nail polish quickly and efficiently. It's like a mini sun for your nails, drying your polish in minutes instead of hours.

Using a nail lamp is a game-changer for anyone who loves doing their nails at home. It saves time, gives a salon-quality finish, and is perfect for those who want to change their nail color often without the hassle of chipping or smudging. Plus, it's just fun to have!
Now, let's get down to business. Here's how you can use a nail lamp like a pro.
First things first, prep your nails. This means cleaning them with a nail polish remover to remove any oils, then shaping and buffing them to your liking. I always start with a clean slate; it makes the polish go on so much smoother.
Once your nails are prepped, apply a thin layer of base coat. This is crucial because it protects your nails from staining and helps the gel polish adhere better. Remember, less is more when it comes to the first layer.
Now, here's the fun part. Place your fingers under the nail lamp and let it work its magic. Most lamps have a timer, so you don't have to worry about keeping track of time. Typically, you'll need about 30 seconds per hand, but check your lamp's instructions for the exact time.
After your base coat is cured, apply your gel polish in thin layers. I usually do two or three coats for full opacity. Each coat needs to be cured under the lamp before applying the next one.
Finally, apply a top coat to seal in the color and add shine. Cure it under the lamp just like the other coats. This step is essential for durability and to prevent chipping.
Sometimes, polish can get on the skin around your nails. Use a nail clean-up brush dipped in polish remover to tidy up the edges. This step makes all the difference in achieving a neat, professional look.
Here are a few tips to make your nail lamp experience even better:
Speaking of personal experiences, let me share a funny story. The first time I used a nail lamp, I was so excited that I didn't read the instructions properly. I left my hand under the lamp for what felt like ages, and when I pulled it out, my nail polish was rock hard and my finger was red from the heat! Lesson learned: always read the manual.
Using a nail lamp might seem intimidating at first, but once you get the hang of it, it's a game-changer for your at-home manicures. With a little practice and patience, you'll be able to achieve salon-perfect nails every time. So go ahead, give it a try.