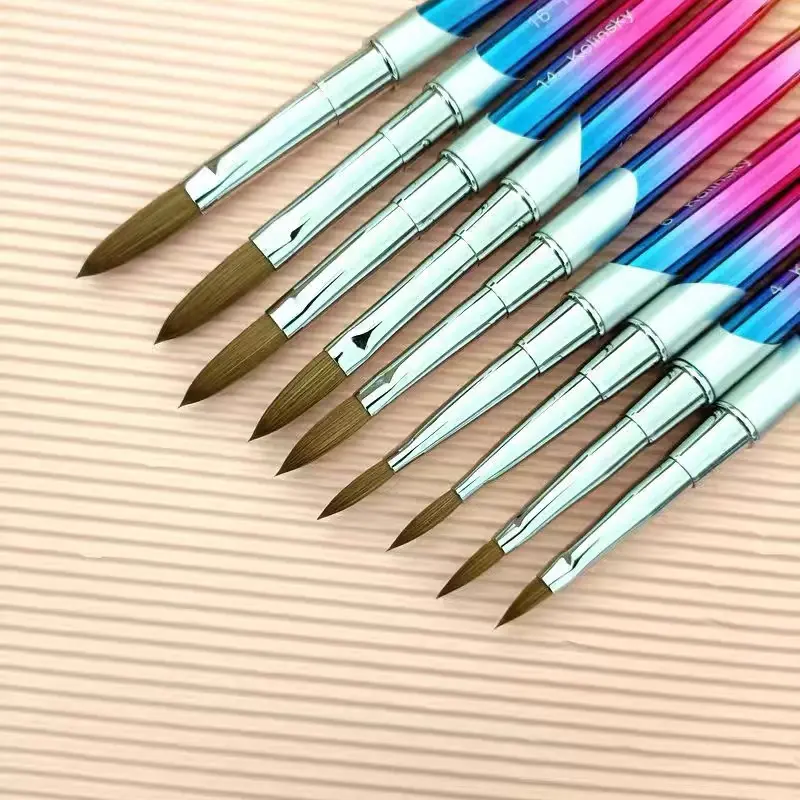
Nail art is a fantastic way to express creativity and style, but maintaining your tools is crucial for achieving flawless designs every time. One of the most important aspects of nail art tool maintenance is keeping your brushes clean. Dirty brushes can lead to muddy colors, uneven application, and even bacterial growth. In this guide, we’ll walk you through the steps to clean your nail art brushes like a pro, ensuring they stay in top condition for all your nail art endeavors.
Why Cleaning Your Nail Art Brushes is Essential
-
Color Integrity: Residual polish can mix with new colors, leading to unintended shades and ruining your design.
-
Brush Longevity: Proper cleaning prevents bristles from hardening and breaking, extending the life of your brushes.
-
Hygiene: Regular cleaning removes bacteria and prevents infections, keeping your nails healthy.
Materials You'll Need
-
Nail polish remover (acetone-based for regular polish, non-acetone for gel polish)
-
A small glass or container
-
Lint-free wipes or paper towels
-
Mild soap (optional)
-
Brush cleaner solution (optional)
-
A clean, dry towel
Step-by-Step Cleaning Process
-
Prepare Your Cleaning Solution:
-
Remove Excess Polish:
-
Soak the Brush:
-
Clean the Bristles:
-
Rinse and Condition:
-
If you’ve used acetone, rinse the bristles under lukewarm water to remove any residue. For added care, use a mild soap to cleanse the bristles gently. This step is optional but can help maintain brush softness.
-
Dry the Brush:
Tips for Maintaining Your Brushes
-
Regular Cleaning: Clean your brushes after each use to prevent polish buildup.
-
Use a Brush Cleaner: Consider using a specialized brush cleaner for a deeper clean and to condition the bristles.
-
Store Properly: Store your brushes in a dry, cool place, preferably in a protective case to maintain their shape and prevent dust accumulation.
Conclusion
Cleaning your nail art brushes like a pro not only ensures the longevity of your tools but also enhances the quality of your nail art. By following these steps and incorporating regular maintenance into your routine, you can keep your brushes in pristine condition, ready for your next creative masterpiece. Remember, a little care goes a long way in achieving stunning nail designs!